How to Use Your Phone as Webcam
Webcams are often integrated within laptops these days. Even though you get the basic privilege of video conferencing, they don’t excel in quality. For example, you may be conducting a meeting, teaching/learning courses online, even streaming or making tutorials; the integrated webcam in most laptops are a drag, they suffer in quality. Meanwhile, if you have a PC then one has no option but to get a new hardware. However – as dead as it may seem – external webcams offer greater edge over them. But you don’t need to hover your mouse to amazon or such because you already have one- the smartphones. Smartphones, yes! they have strikingly better camera and thus, they can be used as a webcam.
Through this article, we will learn to convert your phone into a dedicated webcam. Also, acknowledging the increasing vogue of Zoom, we will use this method on Zoom Meetings as well.
Requirements
- A Phone
- A PC
- Stable Wi-Fi connection (for wireless method)
- A USB cable (for wired method)
Procedure
This method works on all platform. So, you just have to follow the right steps for your device.
Making Device Ready
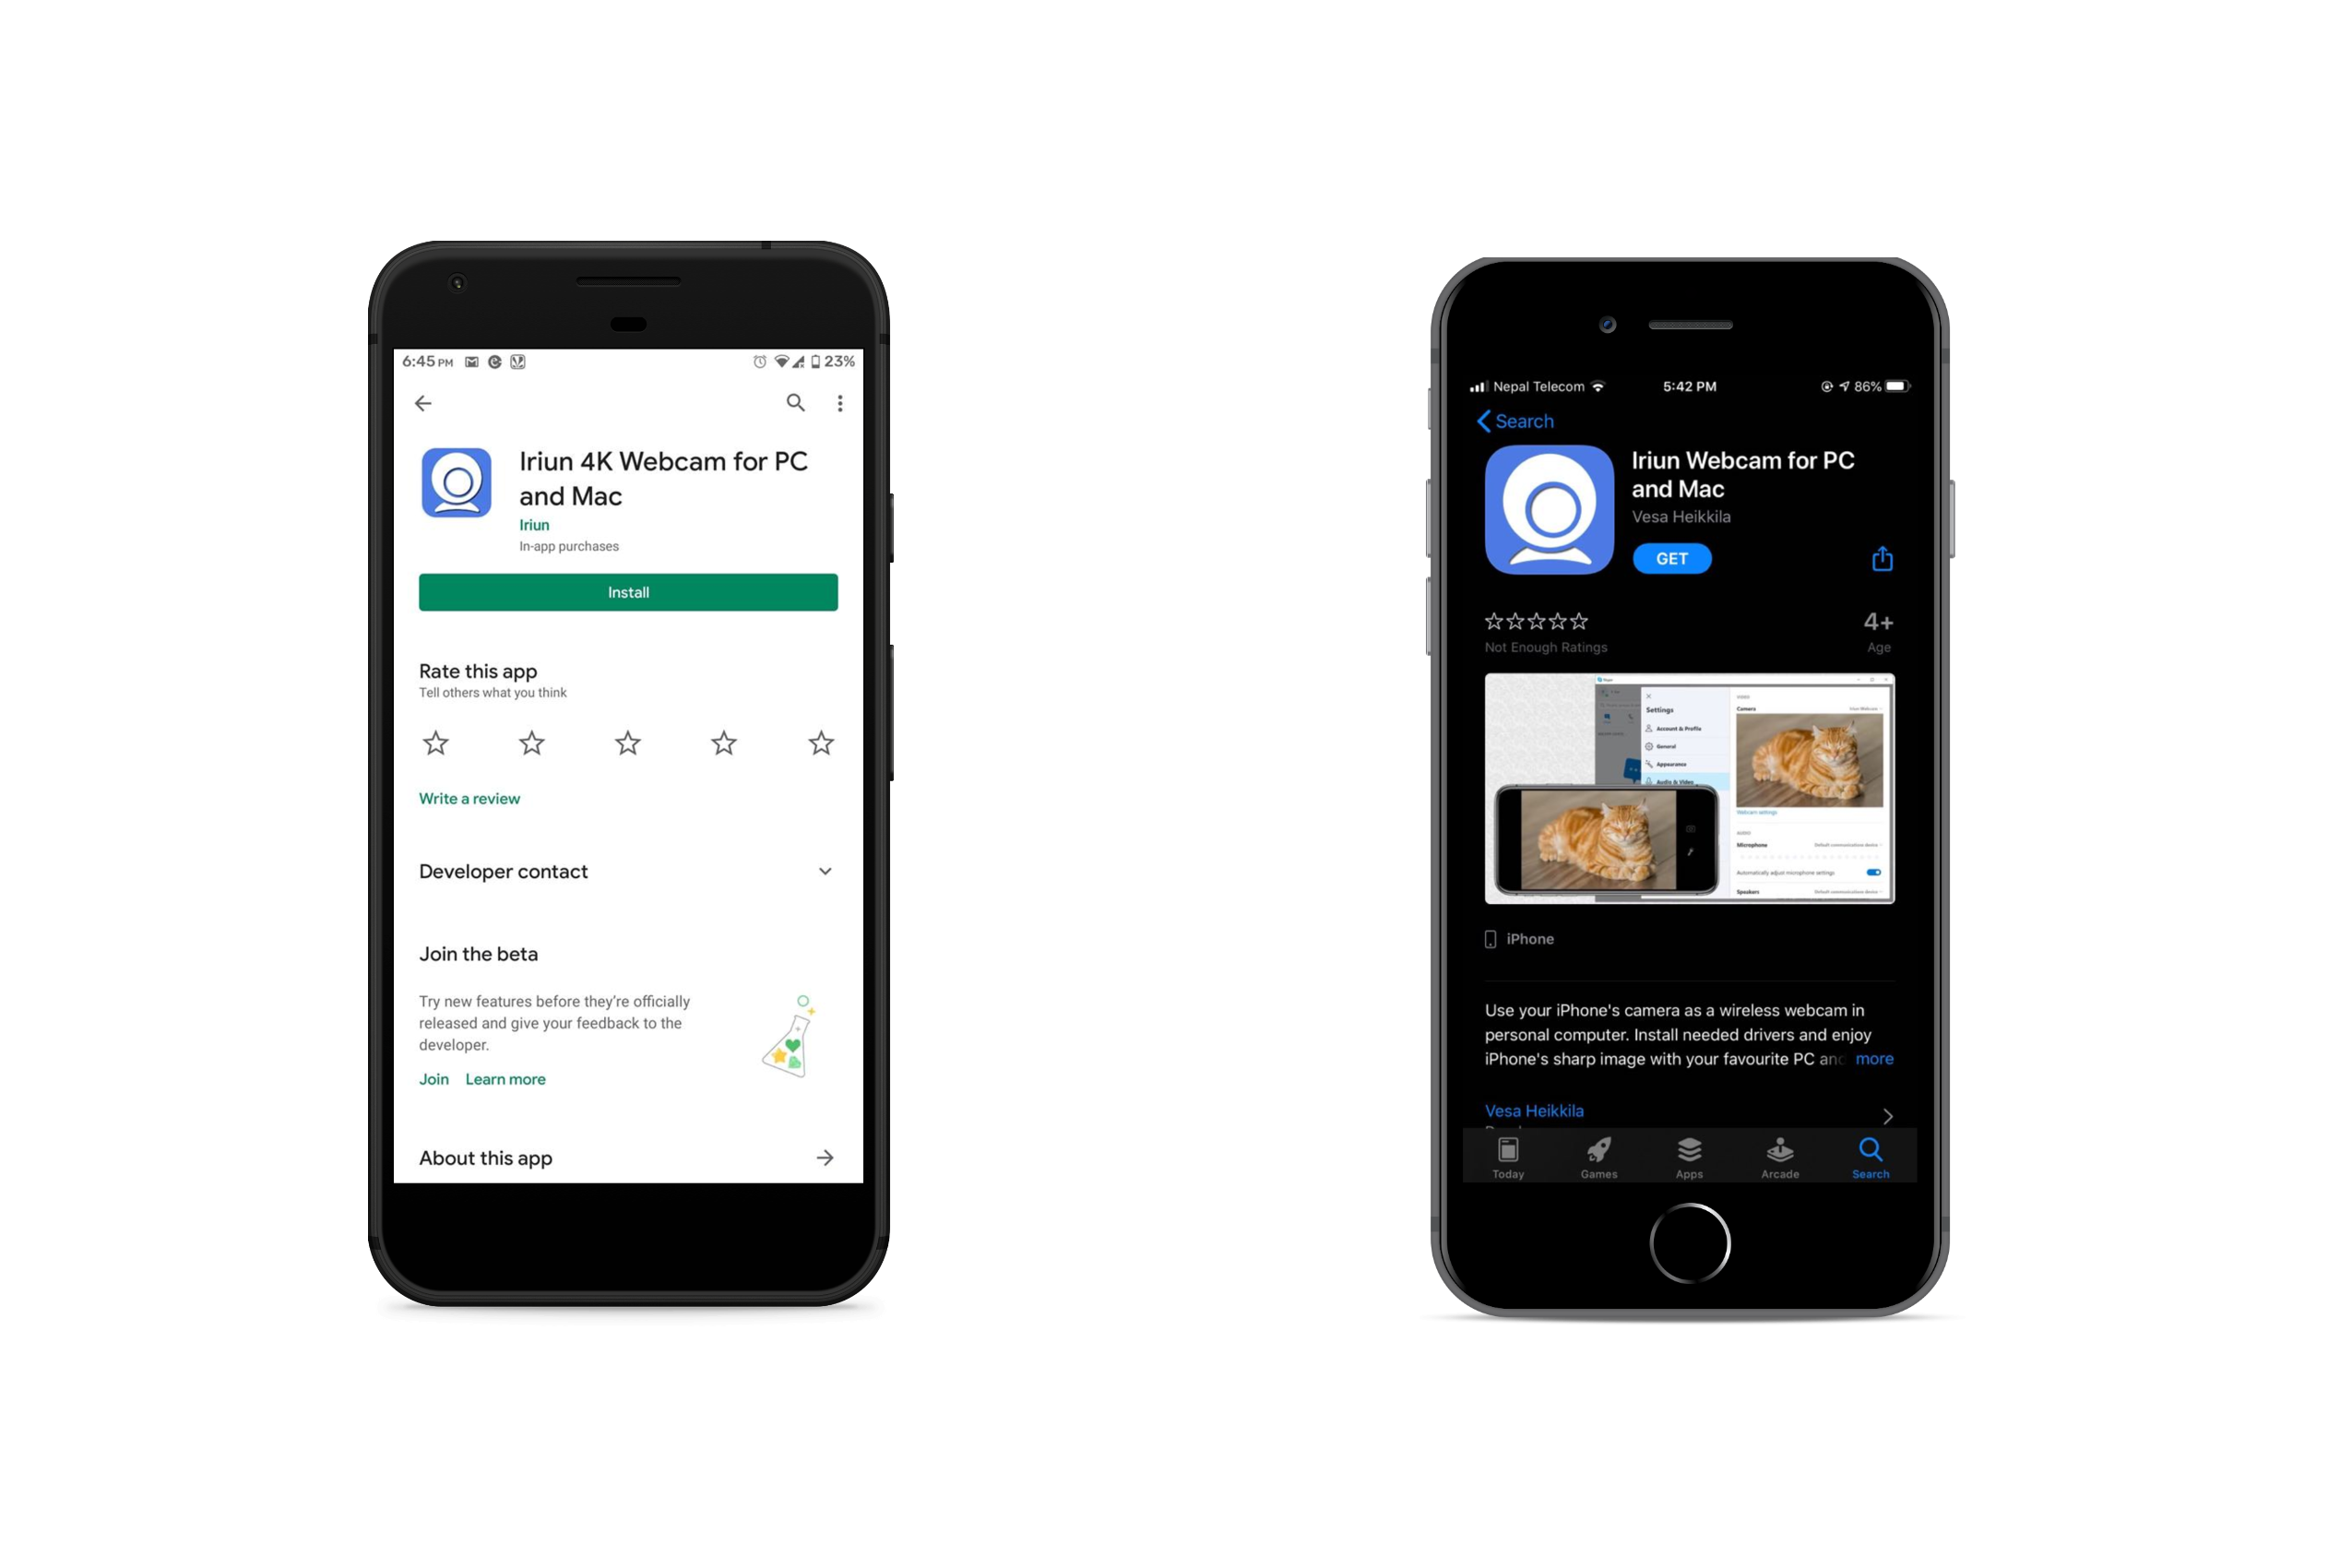
Step 1: Download “Iriun” for your laptop or PC. Iriun is a free app that hosts your phone for webcam.
Iriun- for Mac, Iriun- for Windows, Iriun- for Ubuntu
Step 2: Download “Iriun” webcam app for your phone.
Iriun- for Android, Iriun- for IOS
Setting up the app (Wireless Method)
Step 1: You have to connect both the PC and your phone to same Wi-Fi network for wireless method to work. If you don’t have a WIFI connection, check the USB method below.
Step 2: Now, install the Iriun app in your laptop or PC. Once you open it, you will be shown a screen like this.
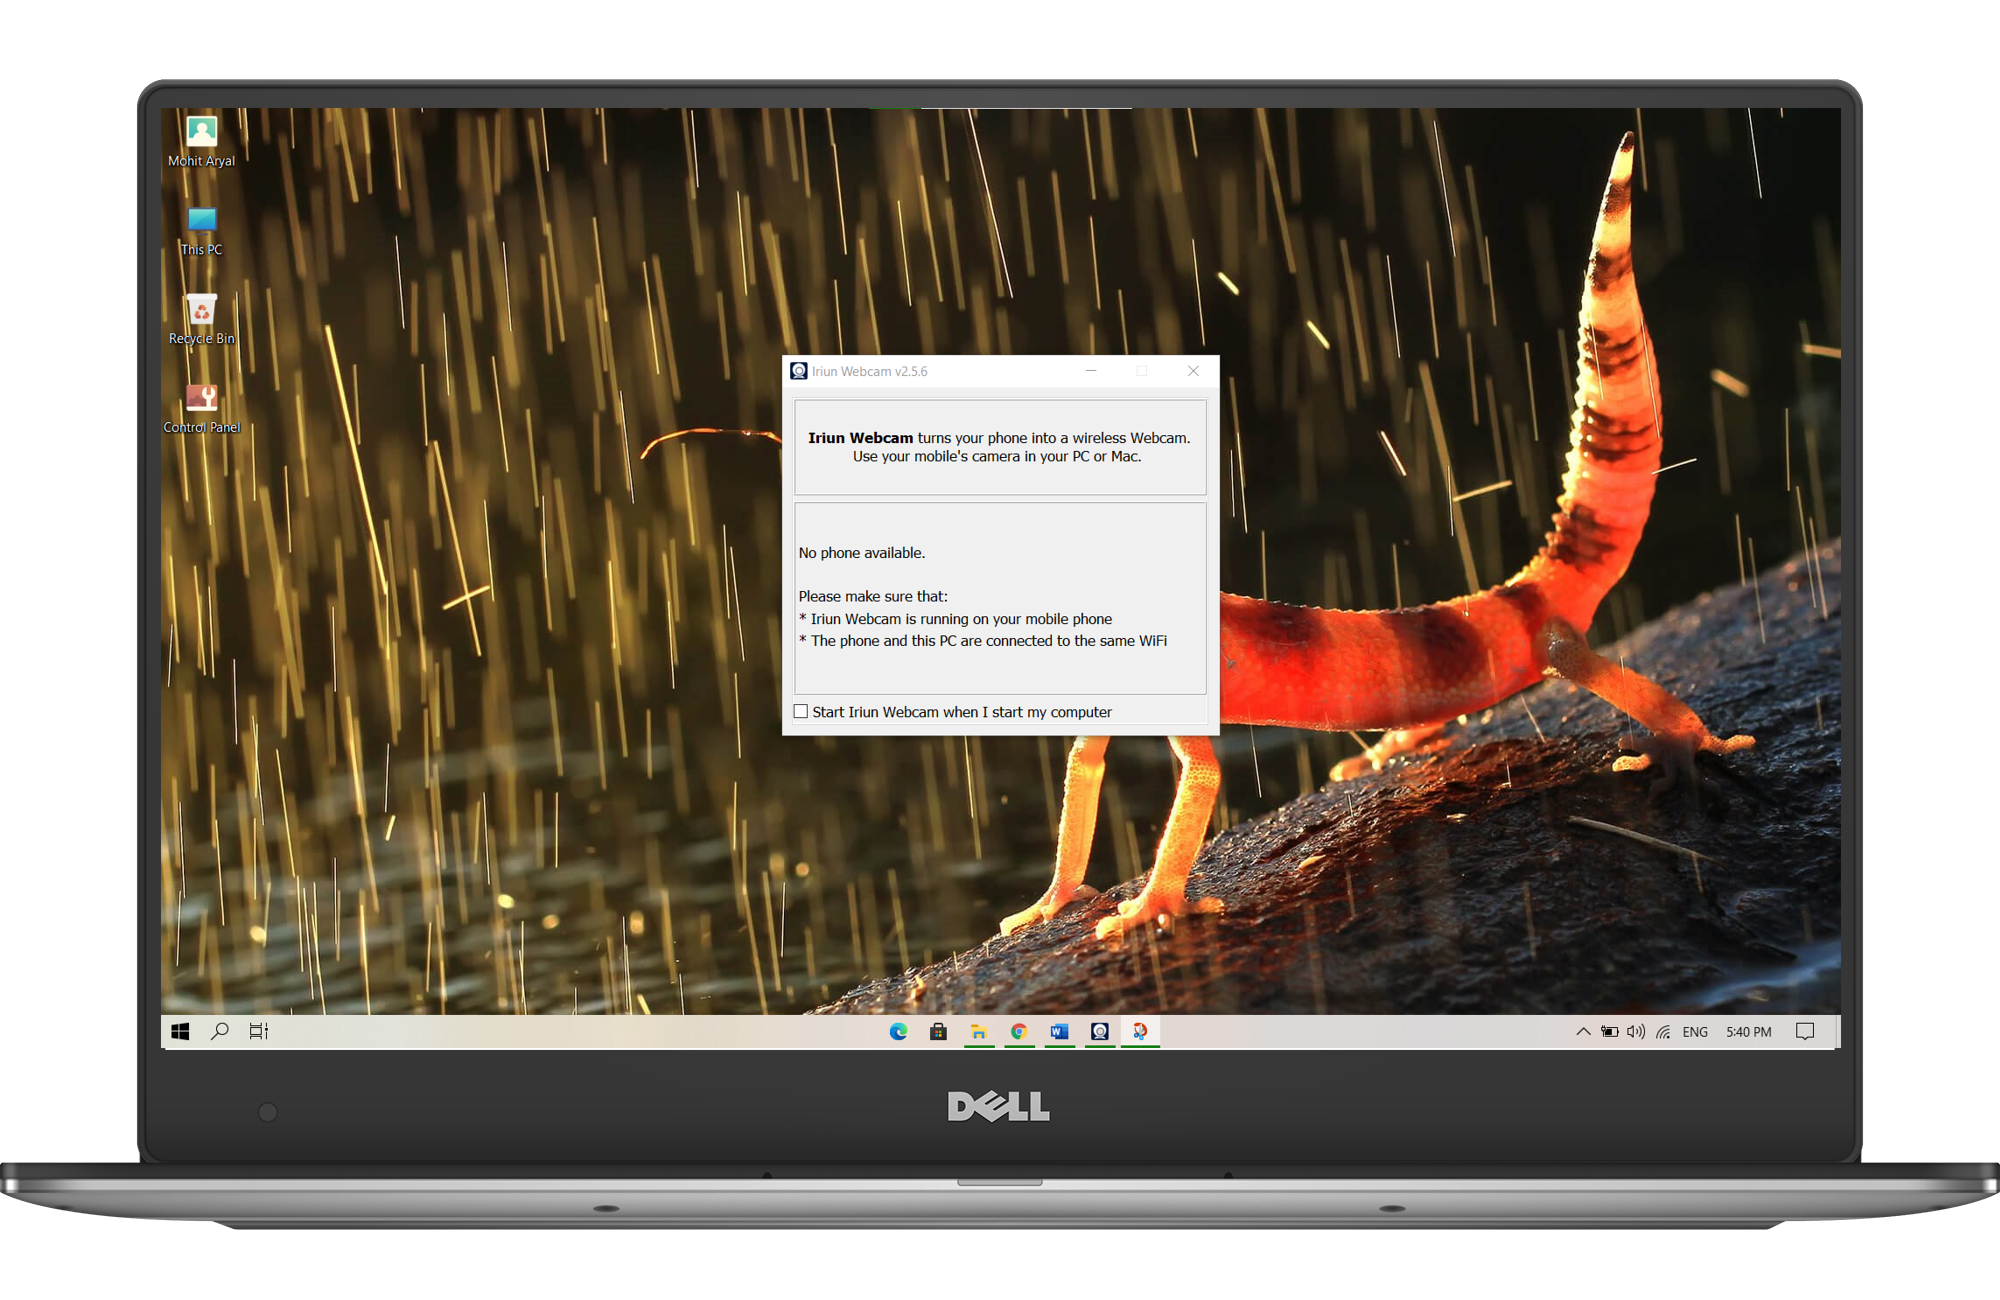
Step 3: Open Iriun app on your phone. The computer should detect it automatically once you open it. (Again, be sure to be on same Wi-Fi network)
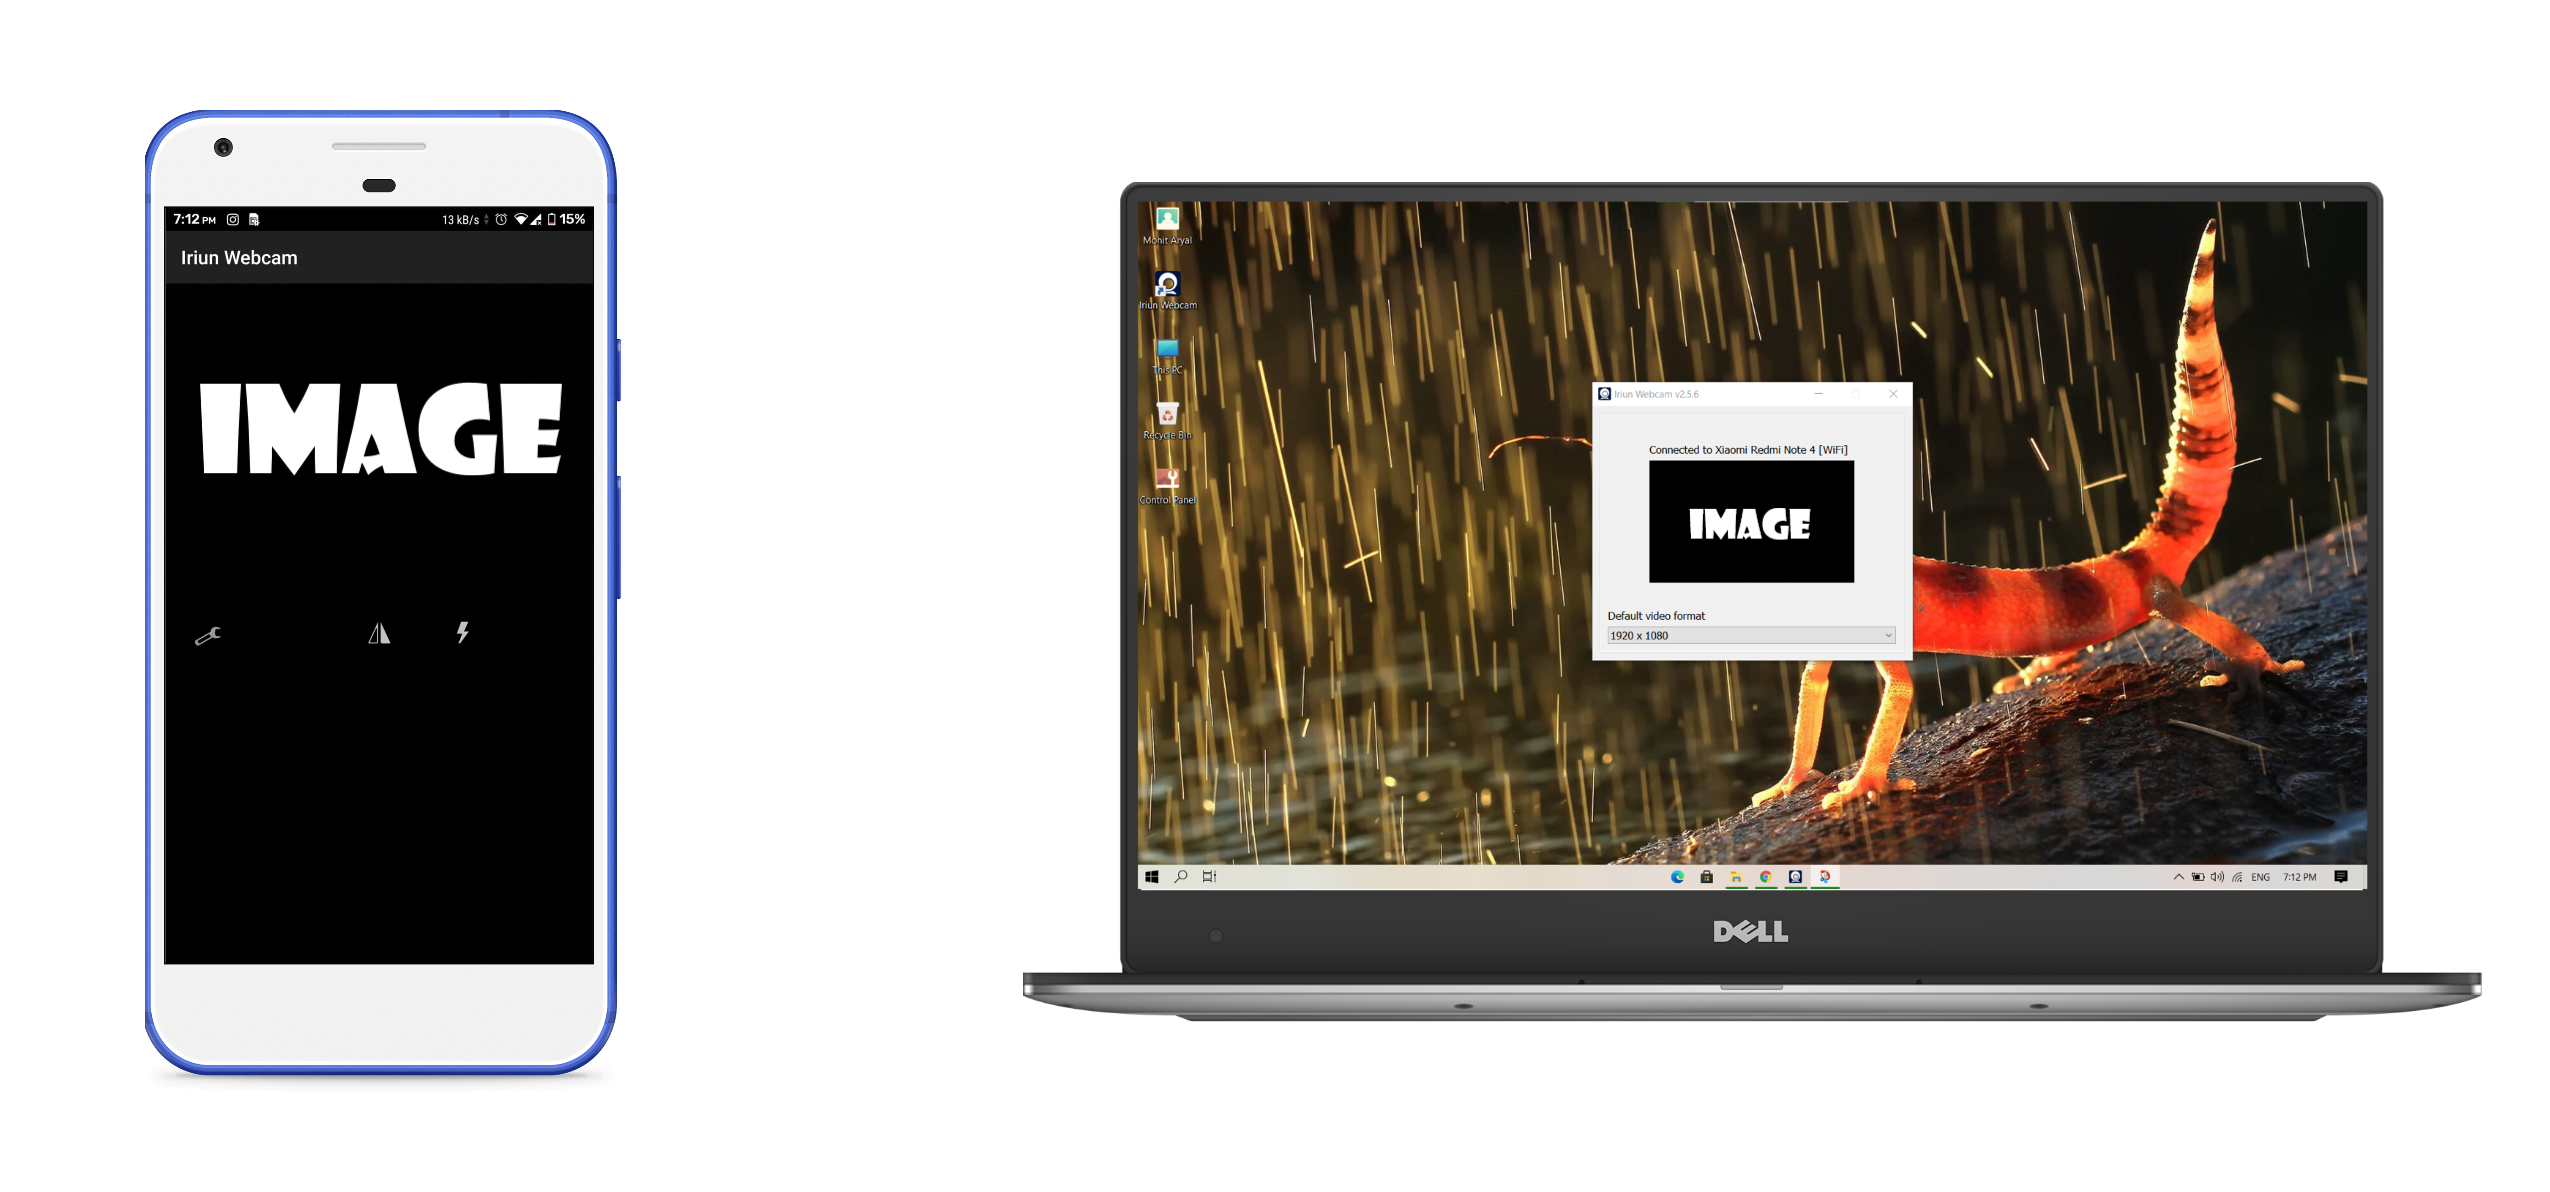
Step 4: Set the webcam quality to your preference. You can change the camera, orientation and such through your phone.
Setting up the app (USB Method)
Note: The USB method works on android devices only. Also, since this method is wired, you won’t have any latency issues. So, it is recommended to use this method over wireless for android users.
Step 1: Turn off Wi-Fi on your phone.
Step 2: Set up Developer Option. To enable Developer Option, go to Settings → About Phone → Build Number and tap on it seven times.
Step 3: Enable USB Debugging. To enable USB Debugging, go to Settings → Developer Option → USB Debugging.
Step 4: Connect your phone to PC via USB. After it is connected, set the USB option to Media Transfer.
Step 5: Once you connect your phone, you will get a prompt notification. Allow USB debugging permissions to your PC.
Step 6: Open the Iriun app on your phone.
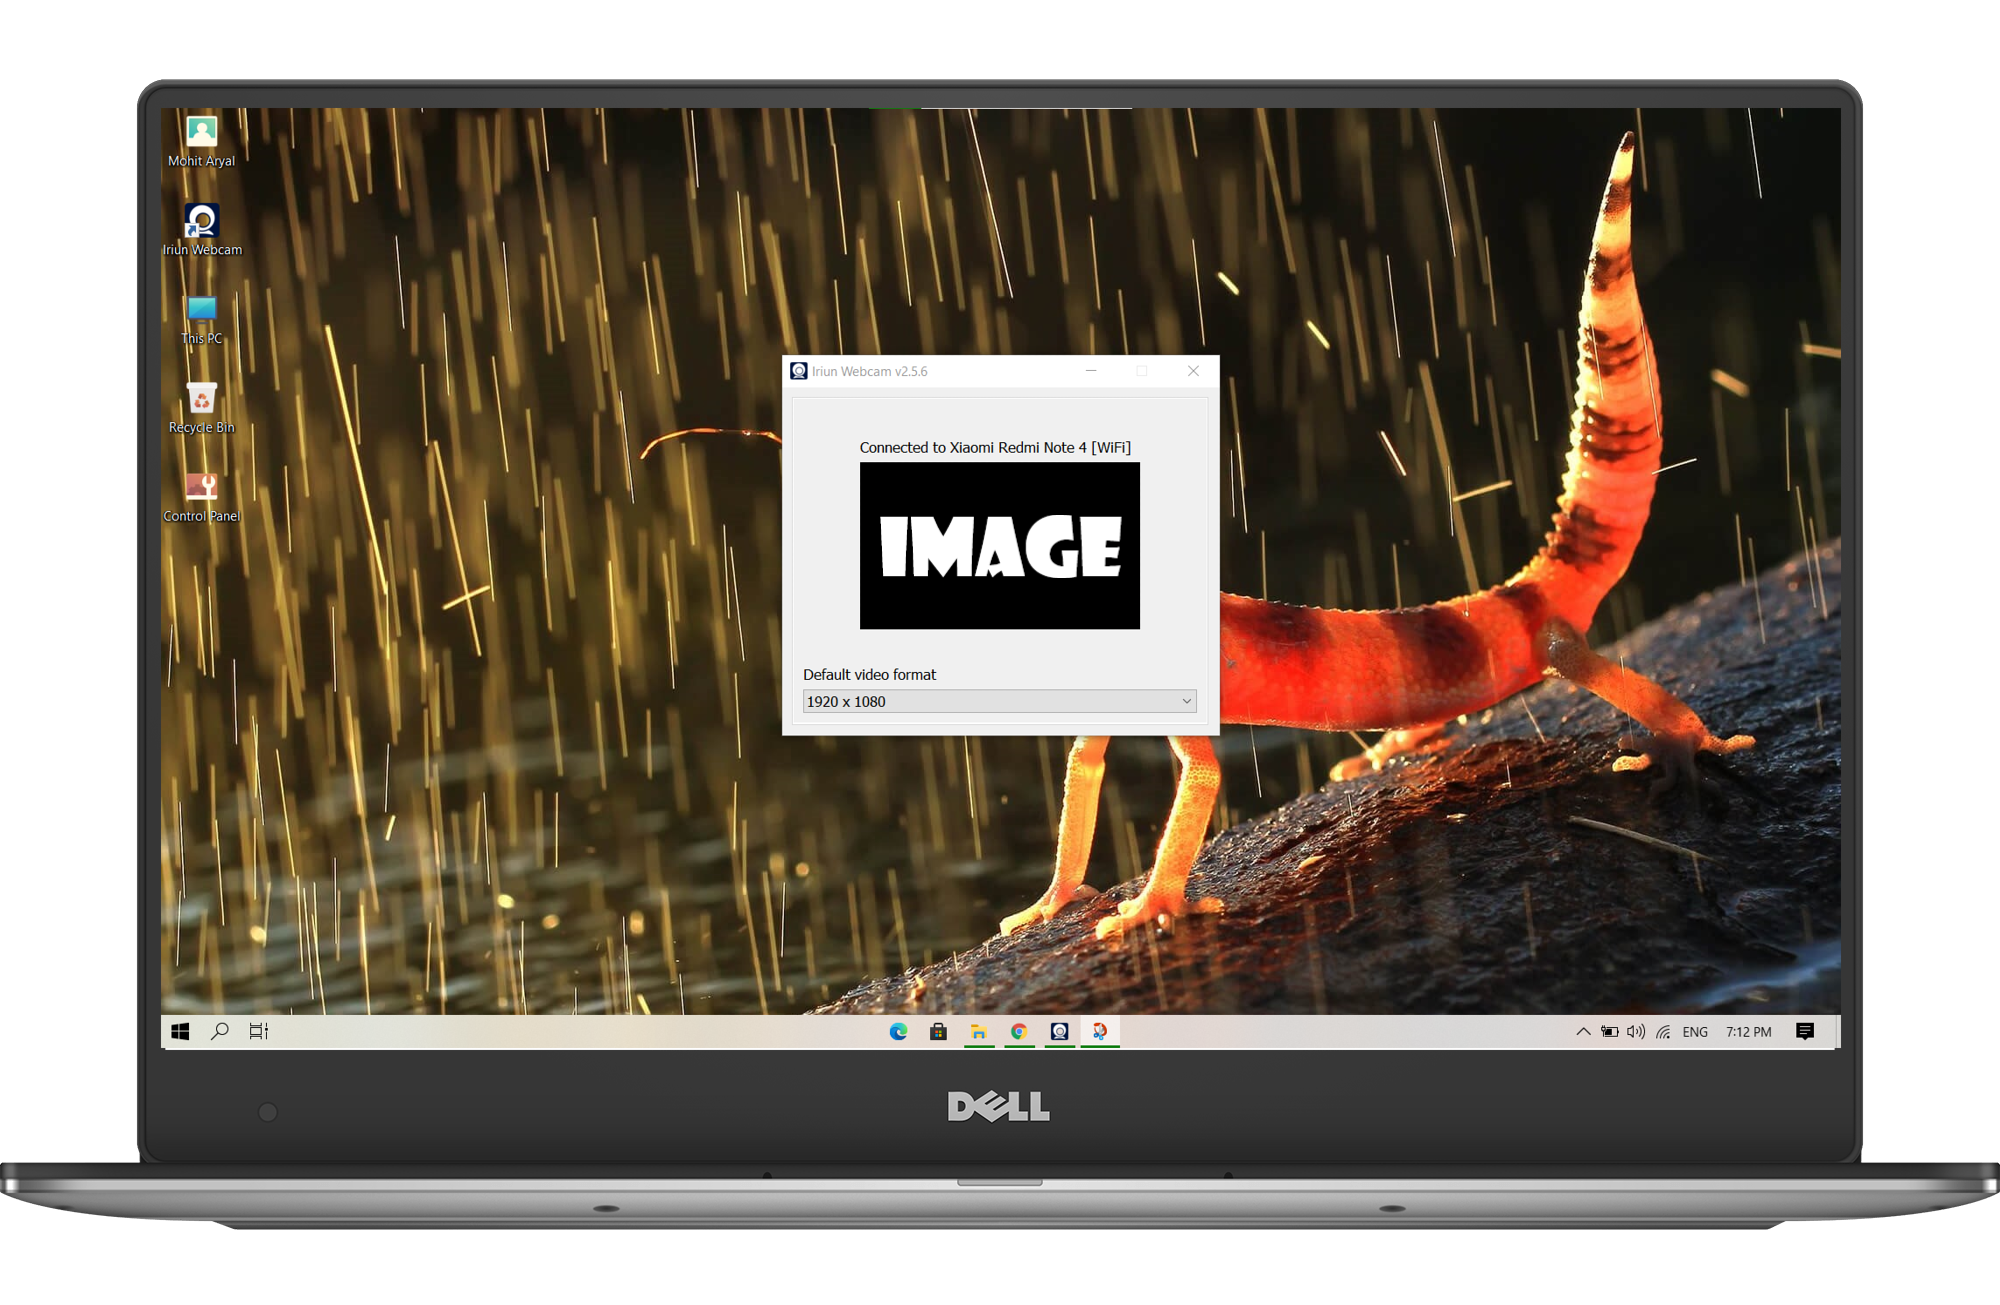
Step 7: Now, open the Iriun app on your PC. Voila! You can now use your phone as a webcam.
Setting Up Zoom for Meetings
To use your phone as a webcam for Zoom meetings, follow these simple steps.
Step 1: Open Zoom app.
Step 2: Navigate to Setting at the top right corner.
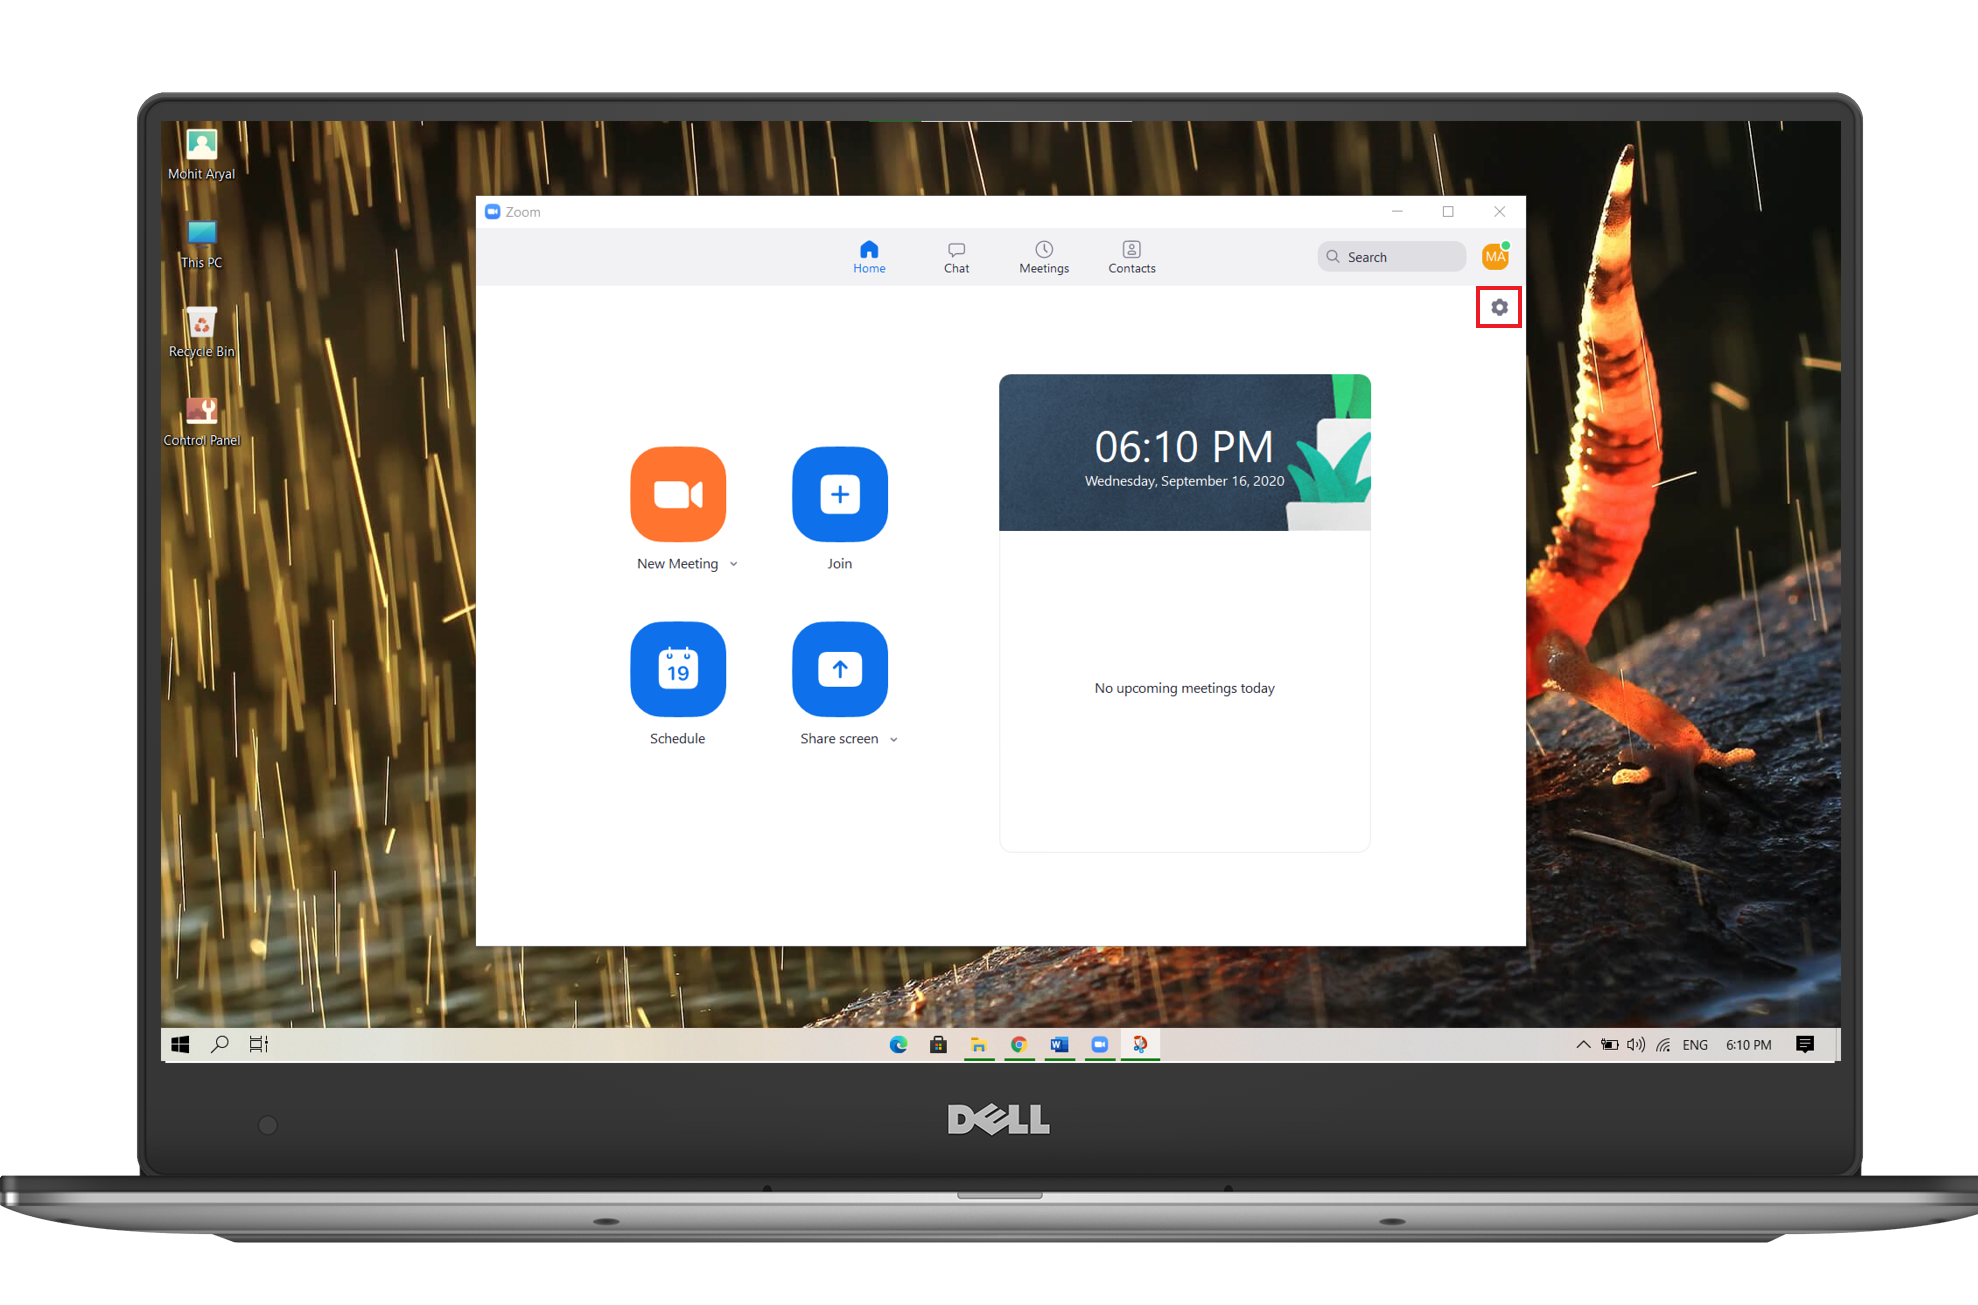
Step 3: Under the Video section, go to camera. Change the option to “Iriun Webcam” and you are good to go.
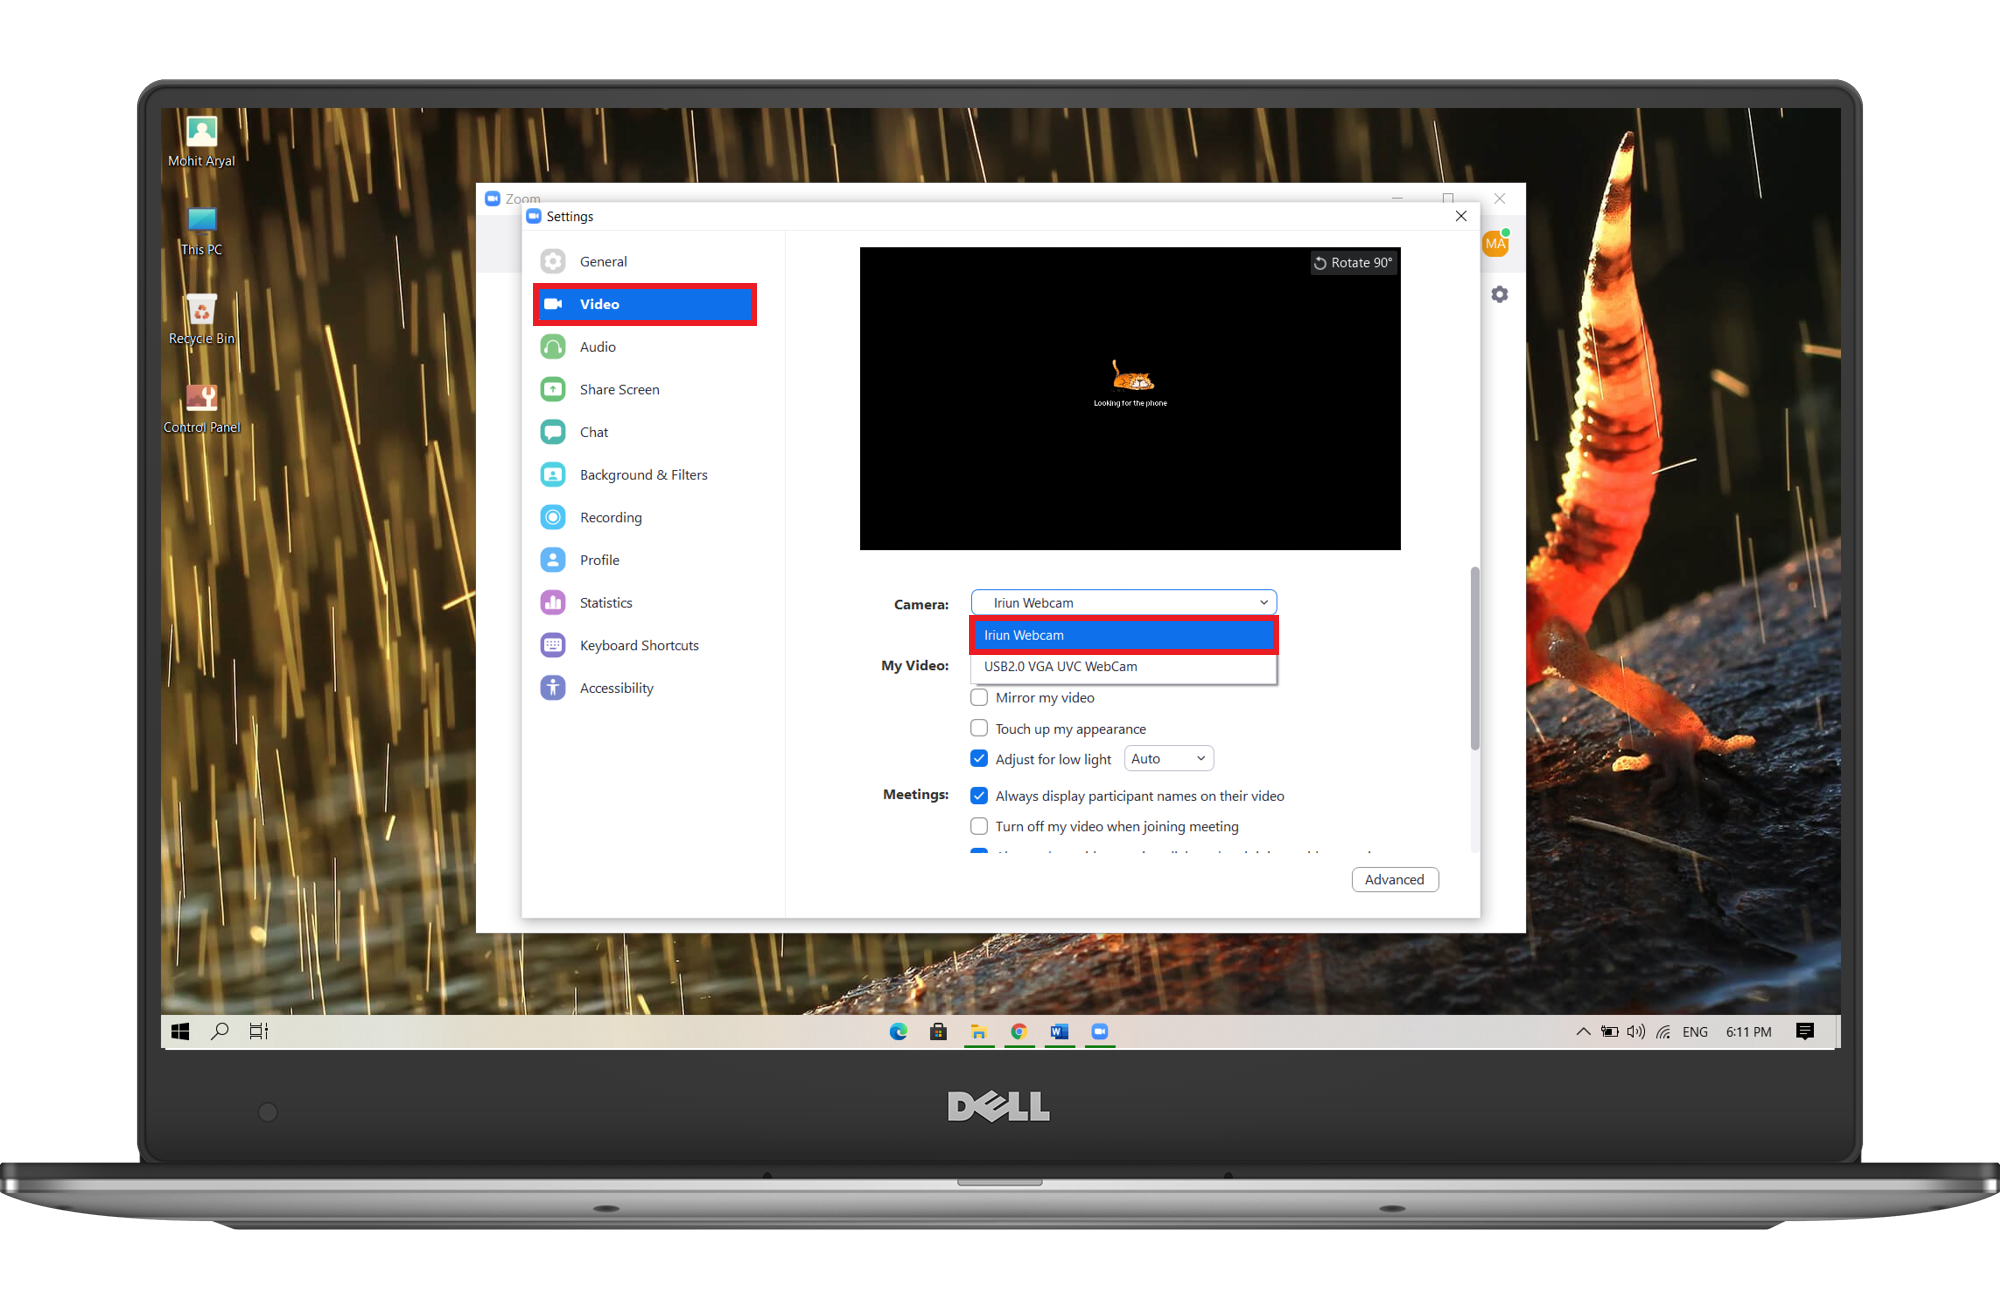
Step 4: Restart the Zoom app to avoid any errors.
Conclusion
This was a very basic alternative to buying a webcam. I hope you guys would be benefited from this. Thank you for reading.
P.S> If you are an iPhone user, I would suggest an app like iVCam for USB method.
Tech enthusiast and a movie fanatic.


3 Replies to How to Use Your Phone as a Dedicated Webcam
Hi, thanks, this is helpful. However regarding “Step 4: Connect your phone to PC via USB. After it is connected, set the USB option to Media Transfer.” there is no “Media transfer” option. Only “import photos”, “import videos”, “synch files” etc.
Please shuffle through each options until one of them works. Also, do reply us, if you encounter any problem.
Thank you!!!
This worked immediately.
How To Remove Bloatware From Any Xiaomi Devices (Without Root): Easiest Way!
Fantastic Windows 10 Icons And How To Install Them
Best 24-Inch Monitors for Work From Home: June 2020!
The Minimalist Setup for Android Devices
Realme Watch 2 Launched: A Worthy Upgrade?
iQoo 7 Launched: Price, Specifications & Launch Date in India
Mi 11 Ultra: Into The Reckoning !!!
Surface Laptop Go Launched in India: The Most Affordable Surface!