


Realme X2 + Google Camera = Magic!!
Hey guys harsh here and welcome back to Technolobe. Realme X2 has been in the market for quite some time now and it has a great set of cameras. I personally have been having the best time while shooting images and videos with the Realme X2. But the thing that makes the camera experience even better is, installing Google Camera on Realme X2.
I love installing Google Camera on Android phones because Google’s image processing is one of the best if not the best. Kudos to the developers who put in all the hard work in order to make such good quality Google Camera Mods for so many phones out there.
This time, for Realme X2 I tried over 10 to 12 Google Camera APKs and finally I found just the right one. It took about 3-4 days, but I finally managed to search for the right Google Camera Mod for Realme X2. So let’s go ahead and see how to install this Google Camera APK on your Realme X2.
Steps to install GCam Mod on Realme X2:
- Download the Google Camera APK for Realme X2 by clicking this link – Download Now
- After the APK has been downloaded, go to the File Manager of your phone and search for the downloaded Google Camera APK by going into the Downloads Folder.
- Once the GCam APK has been located, install the APK. Your phone might prompt you that installing from this source isn’t allowed. In that case go to settings, apps, file manager and select “Allow from this source” in order to allow File Manager to install apps on your Realme X2 smartphone.
- After the Google Camera App has been installed on Realme X2, open the app and click on more then click on settings.
- This GCam APK doesn’t come with a config file, so you will have to manually change all the settings in order to get the perfect images.
Here are the settings that you need to change in the GCam APK:
- Head over to the “More” section on the far right and go to setting. Tap on “Advanced” and enable “HDR+ Control”. Now close the app and reopen it and in the viewfinder, tap on the HDR setting on the top and select “HDR+ Enhanced”.
- Go back into settings and select “BSG MOD Settings” and in “HDR+ Parameters”, change “MAX Frames” to 20.
- Go back to the previous menu and select “Final jpg Quality HDR+” and set it to 100%.
- Next, enable “Disable Zoom in Portrait Mode”.
- Select “Saturation” and under “Back Camera” set “Highlight Saturation” as “2.1” and “Shadow Saturation” as “2.7”.
- Similarly, for “Front Camera”, set the “Highlight Saturation” as “1.2” and “Shadow Saturation” as “1.6”.
- Finally, go back to the previous menu and select “FIX” and change the “Image Format” to “YUV_420_888”.
Once you change all the above mentioned settings, you are good to go and you can start shooting some really awesome photos using Google Camera on your Realme X2.
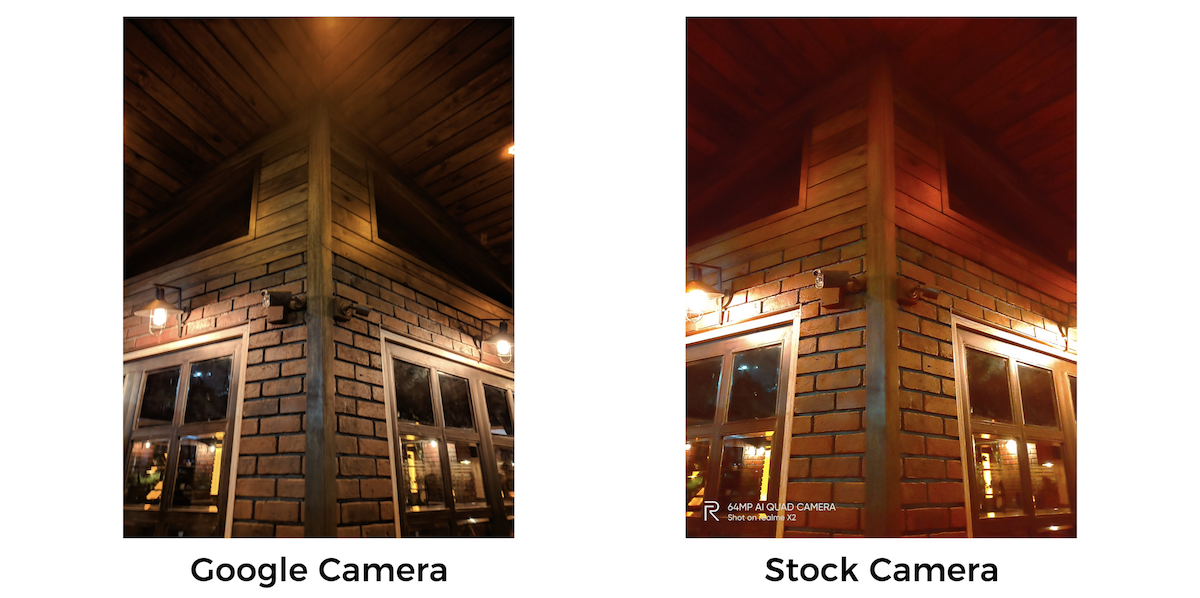
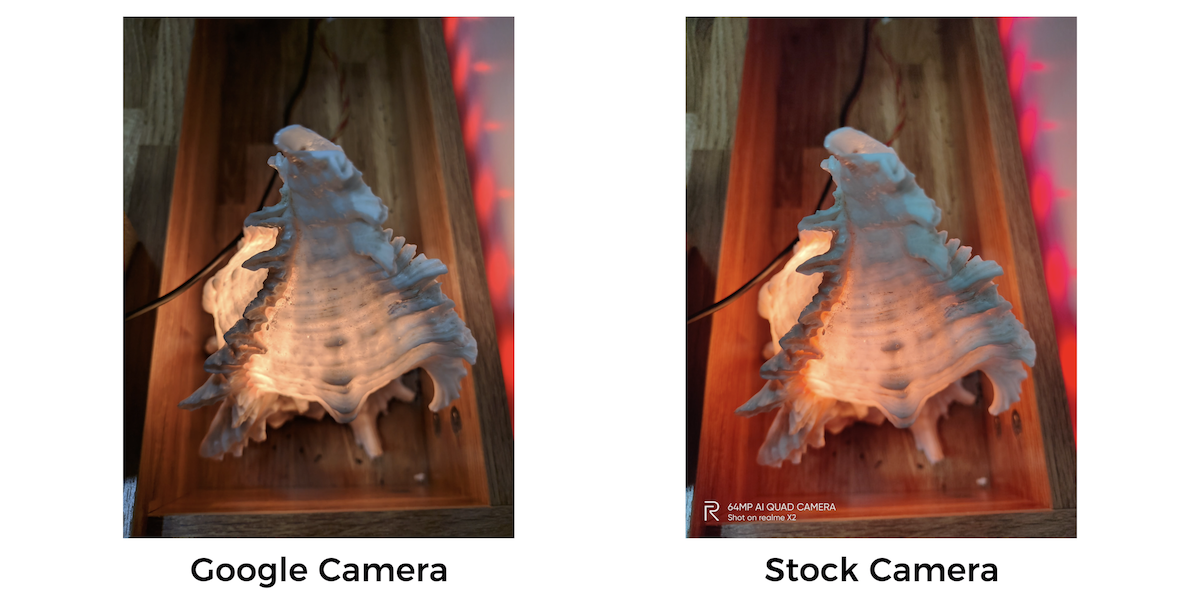
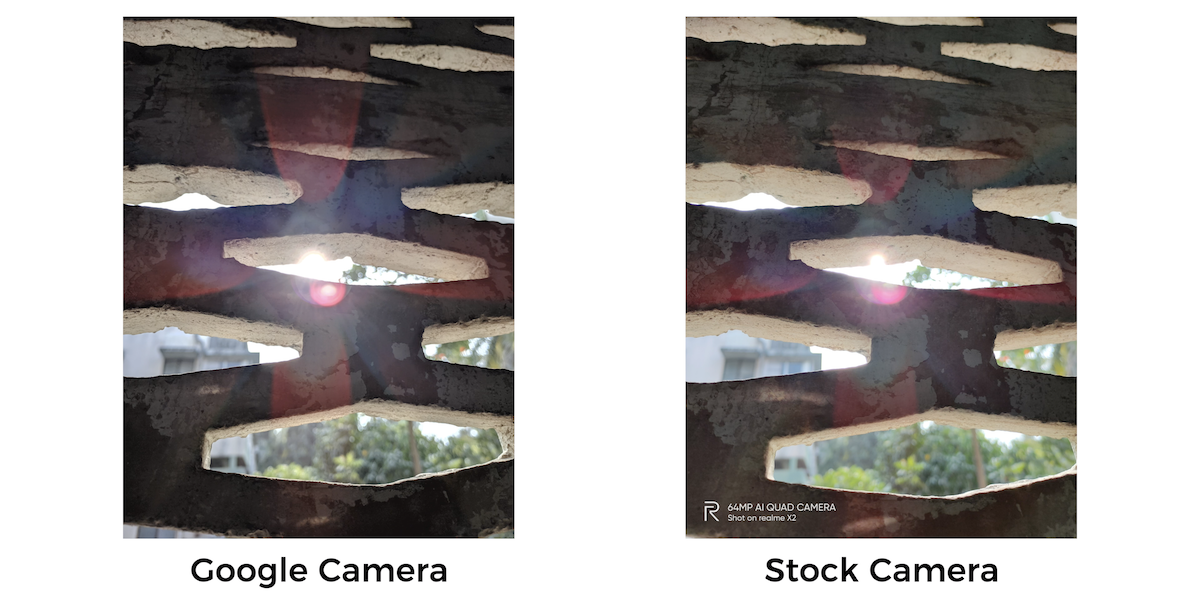
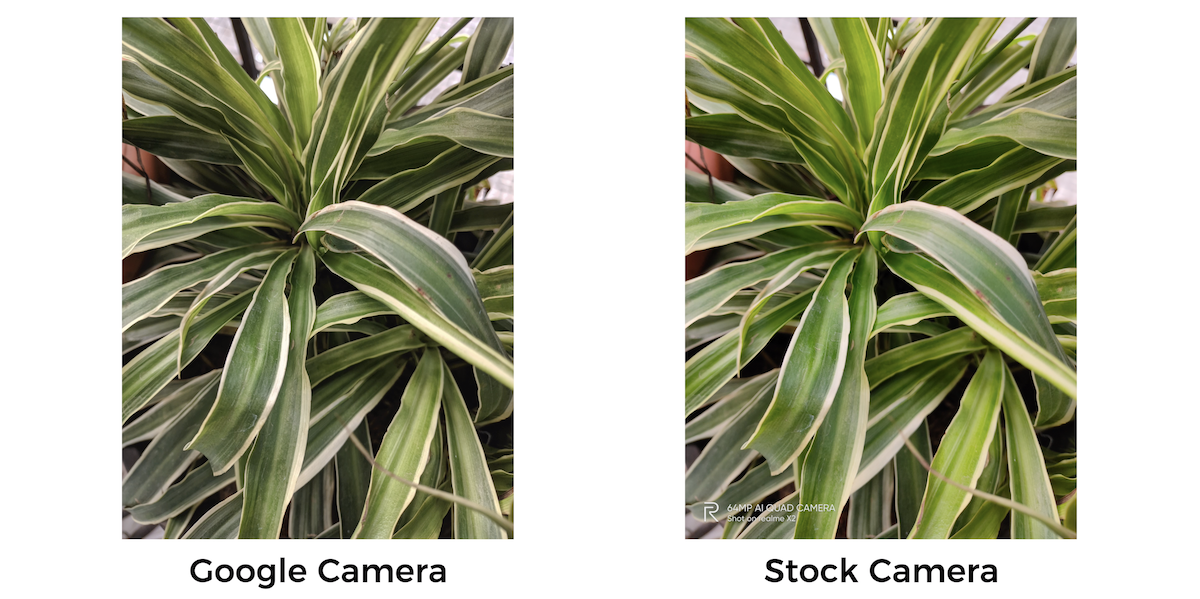
Here are some side by side comparisons between images taken from the Stock Camera and Google Camera on Realme X2 –


You can also watch my video to know more ab0out Realme X2’s Google Camera Mod –
So this is how you install Google Camera on Realme X2. Thanks a lot for tuning in, I’ll see you guys around. Cheers!


I have always been passionate about technology. Trying out new gadgets like smartphones, laptops, headphones, etc. has always been very fascinating and one fine day, I decided to take this passion and turn it into something substantial. This is how technolobe was born.


How To Remove Bloatware From Any Xiaomi Devices (Without Root): Easiest Way!
The Minimalist Setup for Android Devices
Fantastic Windows 10 Icons And How To Install Them
Fantasy Cricket Scam – Beware of These Apps
Realme Watch 2 Launched: A Worthy Upgrade?
iQoo 7 Launched: Price, Specifications & Launch Date in India
Mi 11 Ultra: Into The Reckoning !!!
Surface Laptop Go Launched in India: The Most Affordable Surface!